You may have seen our post all about harvesting compost from our DIY wormery and on this blog we will take a look at the process of restarting a section from scratch, what bedding materials we use and what we feed our beloved worms.
Our wormery may seem huge but we once used a standard 100litre worm bin which is perfectly designed to fit a usual sized back garden and transform a normal family amount of food waste!
Bedding materials
The base of each section is layered up with bedding before we start adding feed. This provides a space for the worms to rest and reproduce.
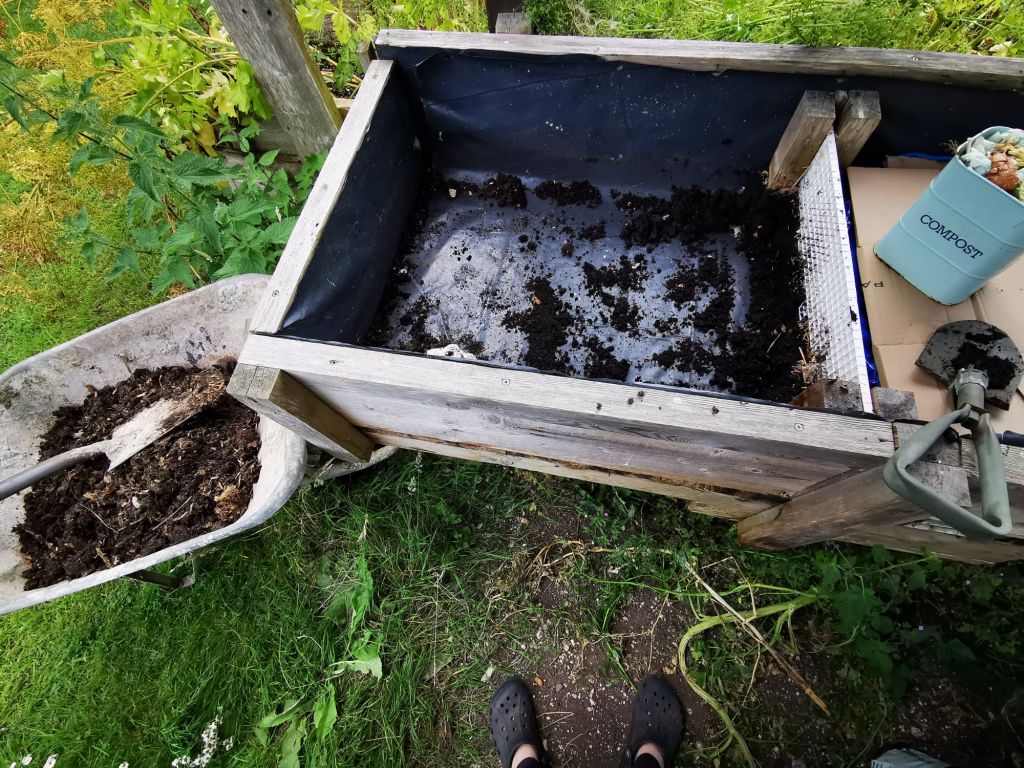
Our favourite source of bedding is manure.
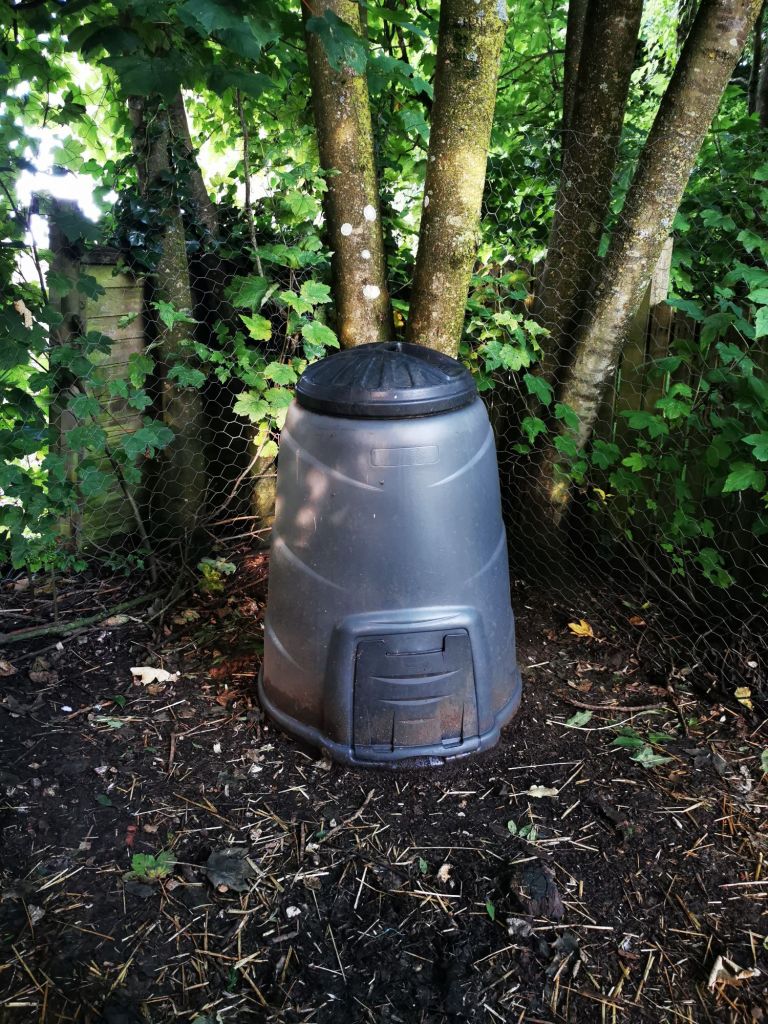
Here in the permaculture garden we use use duck manure which is emptied from our duck coop roughly every two months and has a base of hay and pine shavings. The manure is then transferred and stored in a ‘Darlec’ style compost bin which allows worms to naturally come up and make a start on the decomposing manure! We can then take the manure as and when we require new worm bedding.
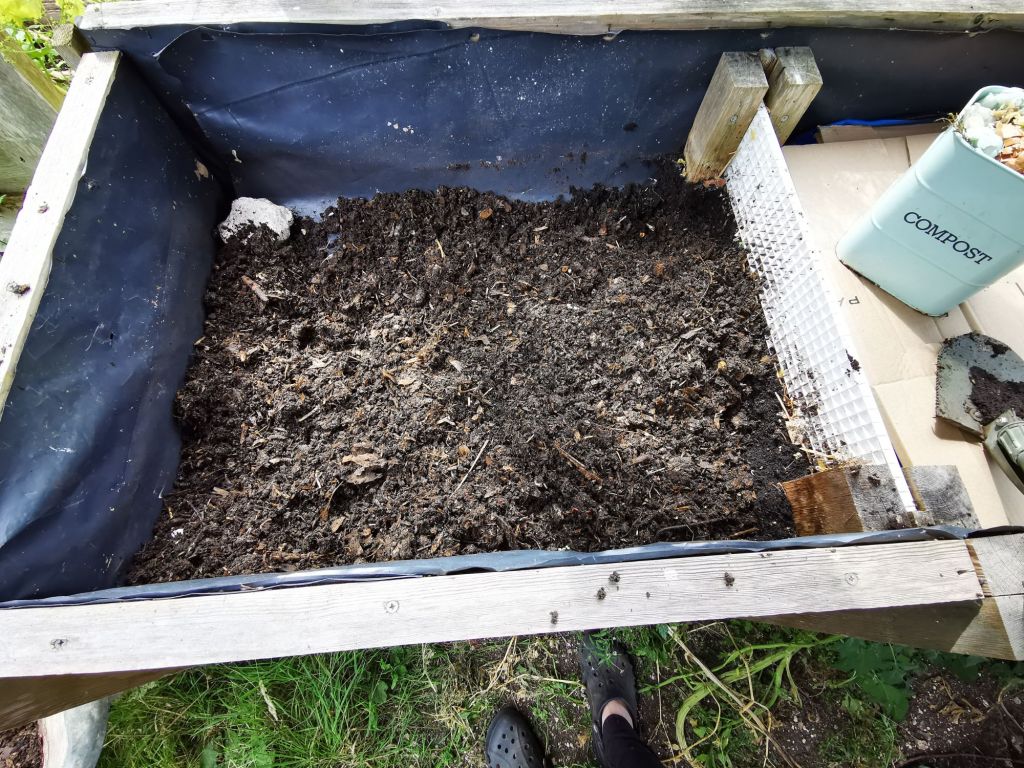
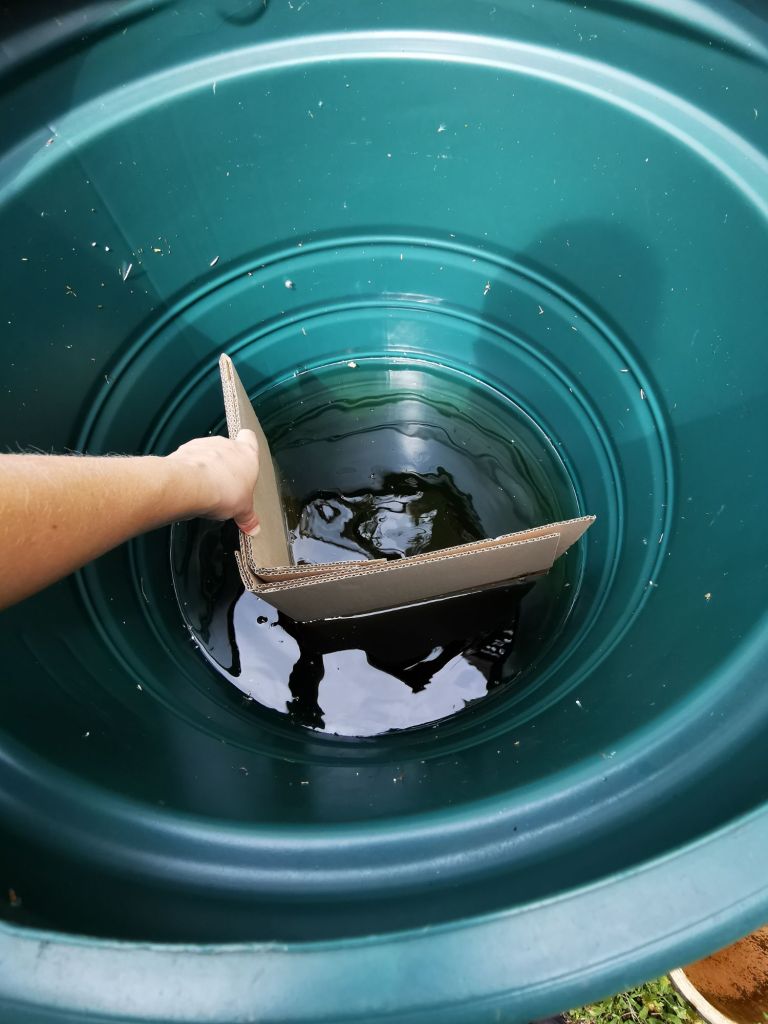
Alongside the manure, we add layers of soaked cardboard as this breaks down really well so can be added in the beginning and as an extra layer on top of every feed which helps keep everything damp.
Over the years we have used seasoned cow and horse manure which works brilliantly and is often given away for free.
Another material we have used when we have an abundance is woodchip. It works well but doesn’t break down as quickly so often has to be sieved out of the final product, creating extra work, but it can then be reused when starting off another section.
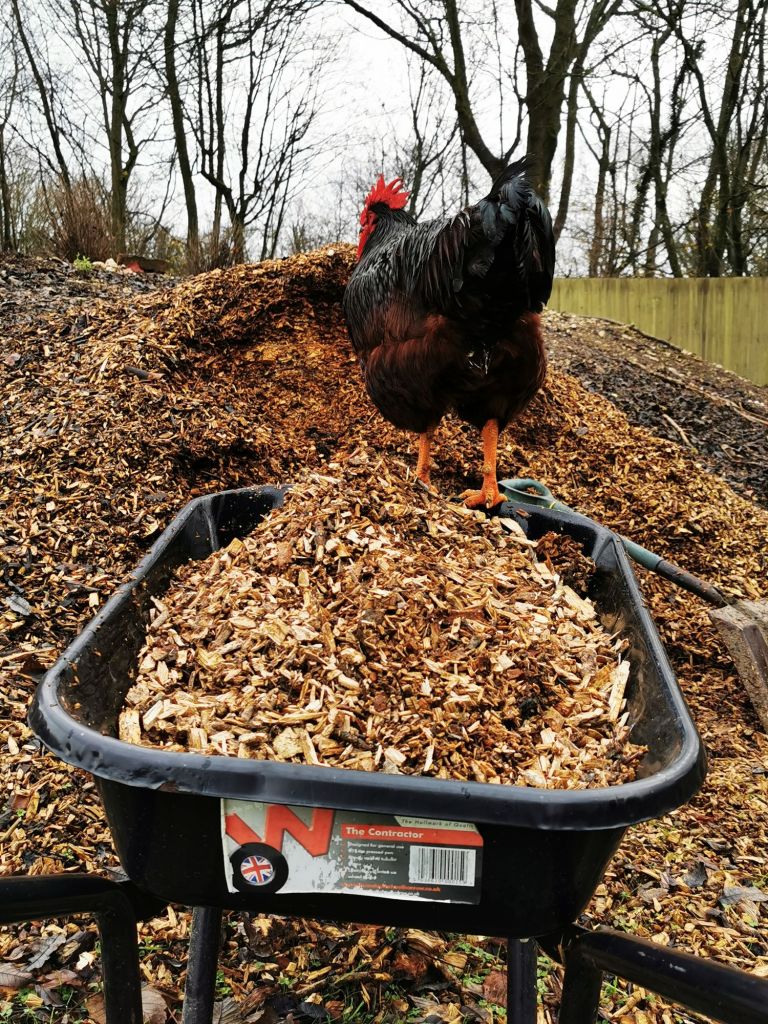
Leaf mould is another ideal bedding loved by worms and is collected by the ton here every autumn making it a nice free, organic choice, but as with manure it can include many seeds!
For those who aren’t able to gather organic materials locally, a very popular form of bedding which is also guaranteed to be seed free is organic coco coir. Commonly sold as ‘blocks’, that are soaked in water allowing it to expand which creates a lovely fluffy bedding for the worms. Not as sustainable a product for us in the UK but still widely available online, and does a great job.
Feeding the worms
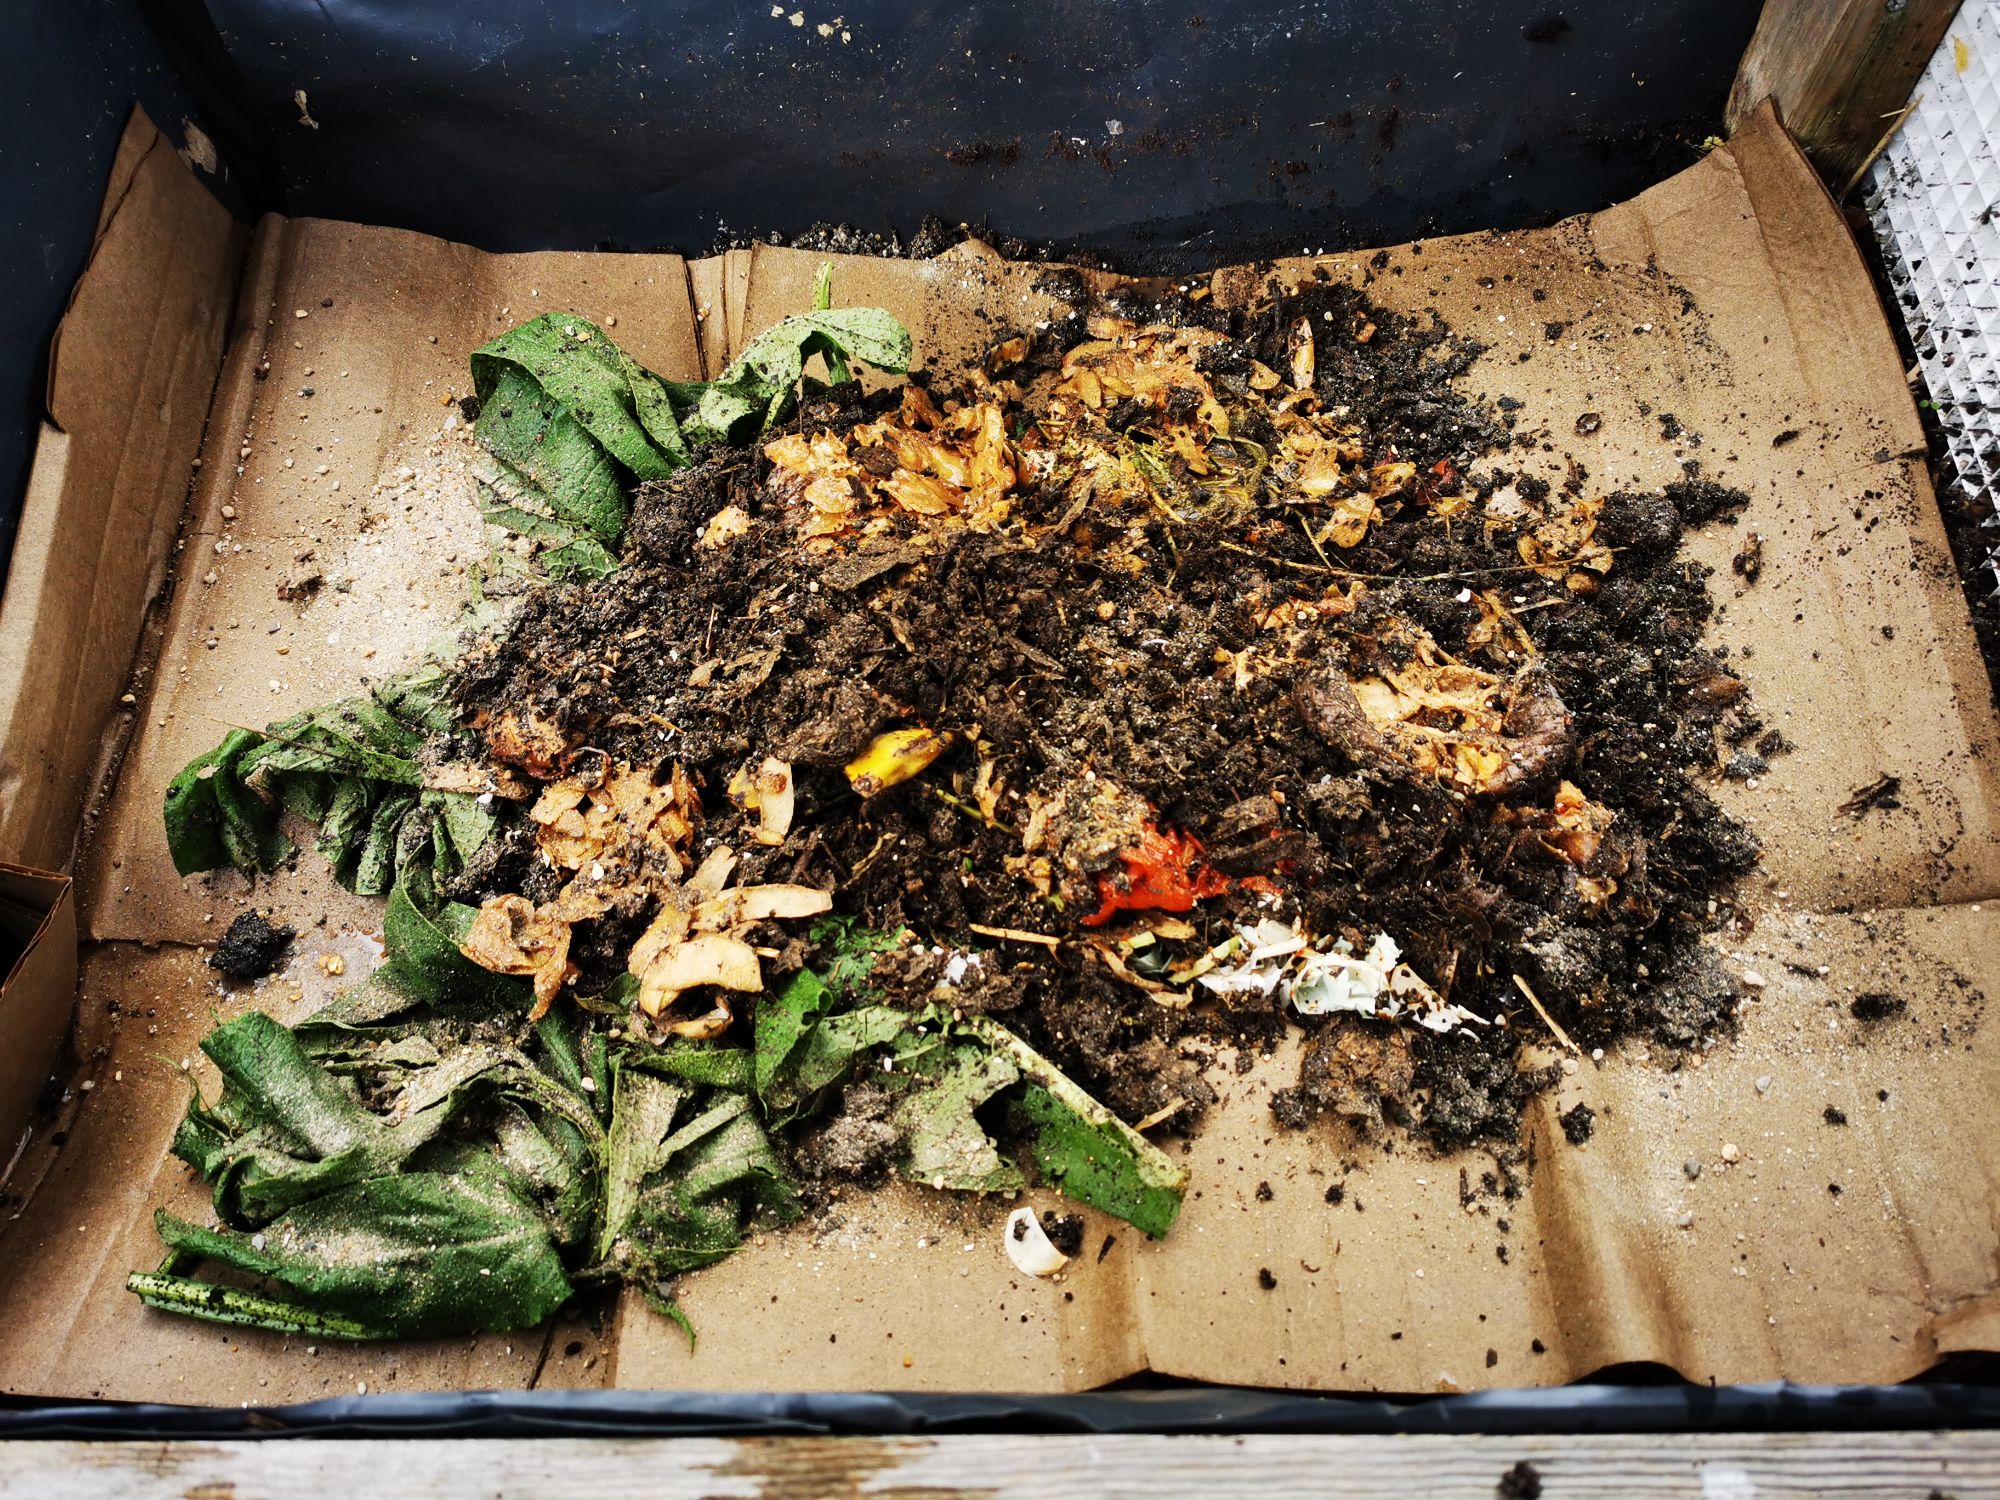
Our main feed comes from raw veg scraps (never onion, citrus, herbs, meat, dairy or any cooked foods) which we collect into a counter top composting bin and empty it into the wormery once or twice a week. In order to speed up the decomposition, it’s good to cut any big chunks into smaller pieces. (The smaller the better!)
Coffee grounds is something we’ve been collecting by the bucket for years now as the worms absolutely love it. It is already ground into a powder and is digested easily. If you let it dry out then it will turn to clumps and the worms won’t touch it so I always soak it in a bucket of water before adding.
Tea grounds. We are British and therefore consume a lot of tea daily! They are another good source of food with their soil like texture. We collect the tea bags in a small tub and empty the grounds into our counter top caddy at the end of the day. We do not compost the bags as they are usually made from plastics.
Worms need grit
Just like birds, worms have a gizzard where food is grind up with grit to break it up into smaller, more digestible particles before going through the stomach.
Egg shells are an excellent source of calcium and works well as a form of grit. To make them accessible, we rinse the shells and crush them up before adding to our kitchen compost bin along with the food scraps.
This is our number one choice due to having an infinite supply from our hens.
Other valuable grit we use is activated charcoal, which can be crushed into small chunks or ground into a powder texture.
Other forms of grit that can be used include sand or ground oyster shell.
Supplement our hens with oyster shell so does already exist in the duck manure we use for bedding!
Those are the three main components we use and each section is fed continuously until there is a decent layer and then it is left to the worms to transform for a few months before harvesting.
Speeding up the process
Creating top quality soil is not a game to be rushed but there are many ways to speed things along and lots of opportunities to add organic materials that become available throughout the season.
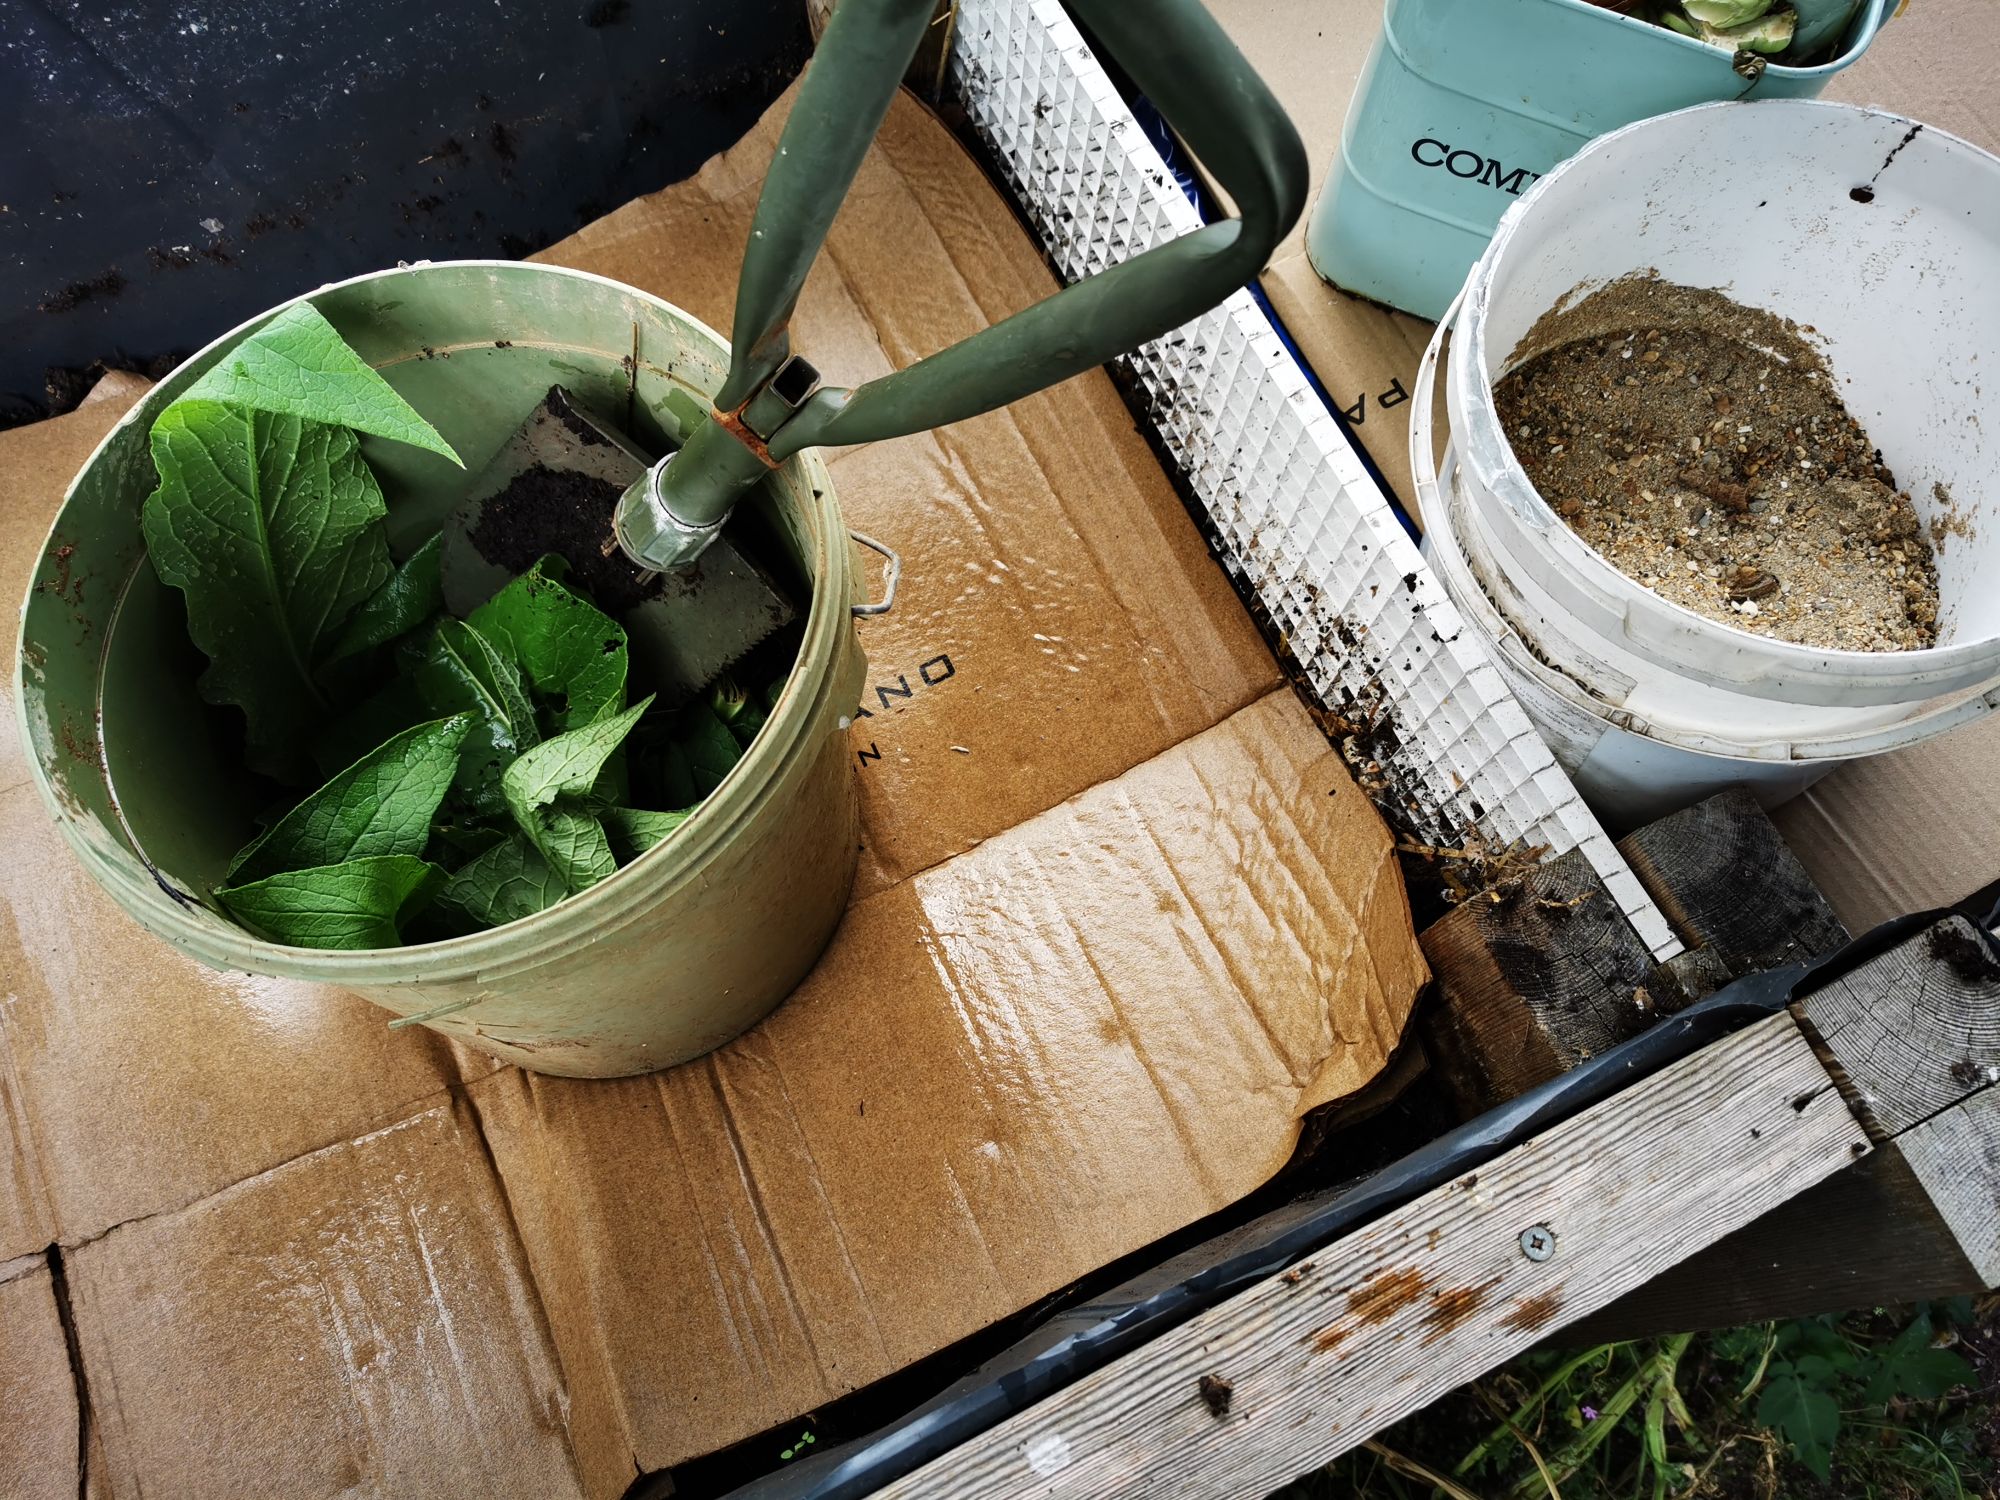
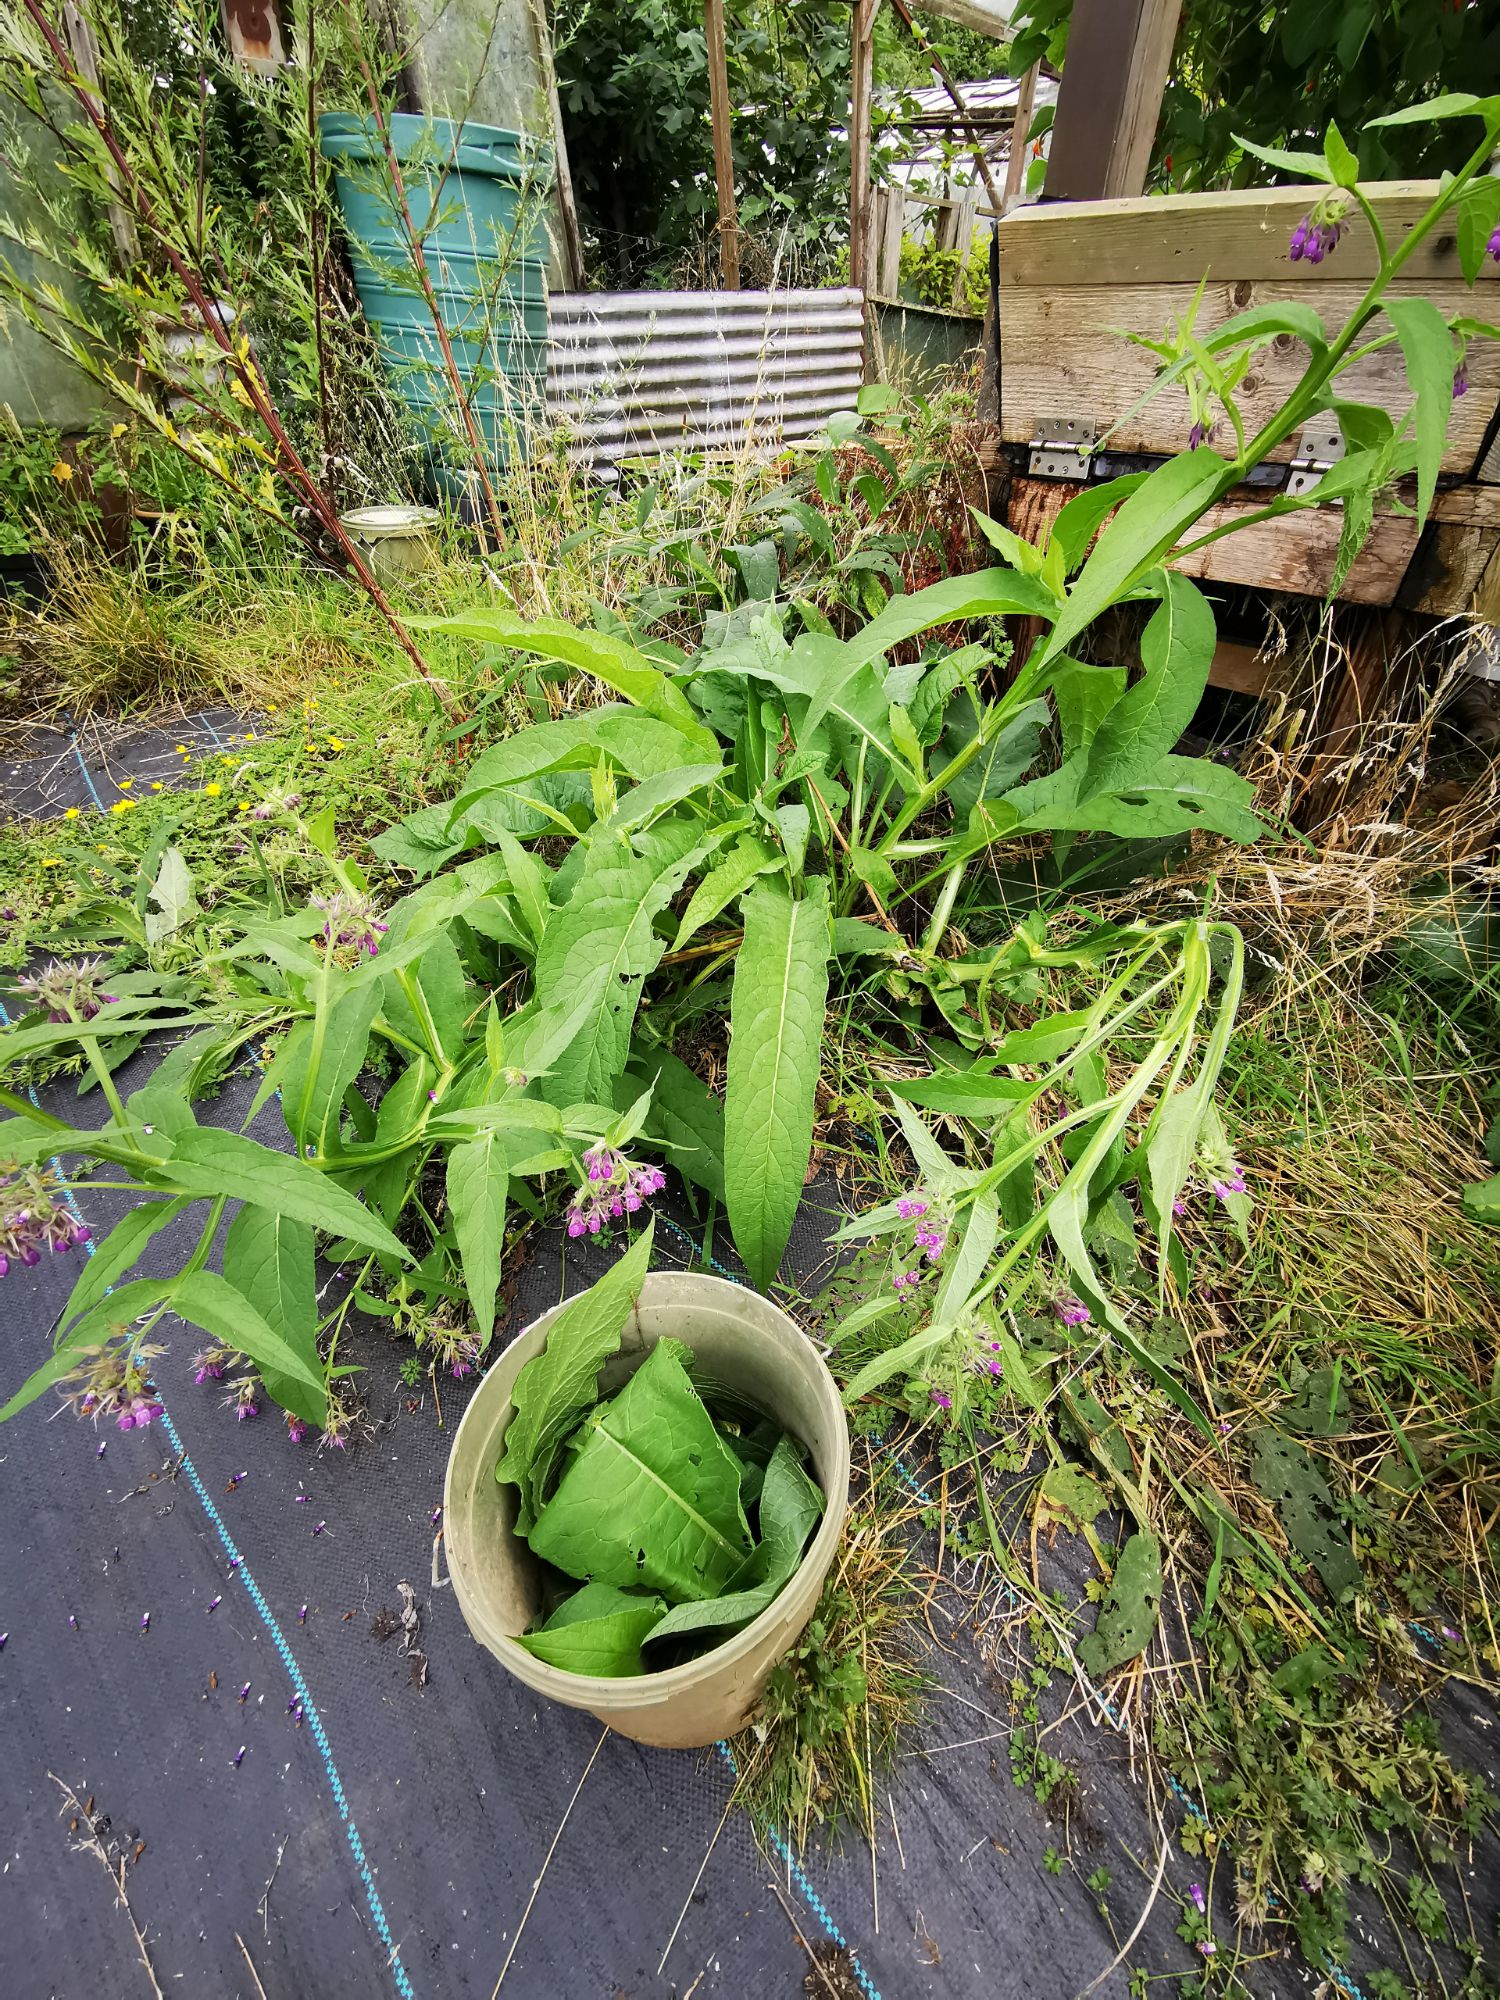
One of my favourites is comfrey leaves as they speed up the decomposition of other matter and add lots of extra nutrients to the compost. We let these plants self seed all around the garden knowing we can later add them to the wormery and various compost bins.
The most obvious way to speed up your bin is by having more worms. Although they can be bought online, we started our wormery off with just a few handfuls of tiger worms from one of our compost bins.
Tiger worms live on the surface layer of soil and are hardy here in the UK, making them ideal for a wormery. Encourage your worms to reproduce by creating a comfortable environment and sheltering it from the harshest weather.
In the winter our worms slow down, but every spring there are thousands of babies emerging and things pick up again.
In the heat of summer it’s important to check in and wet down any materials that look dry. We keep a water butt close by as rainwater is best with all it’s extra minerals and lack of chlorine!
Click here to read our blog ‘Harvesting soil from our worm farm that transforms waste into gardeners gold’ to see the results!


